Saturday, January 28, 2017

Motif 2: Pricilla Butterfly

Here's the second motif in my challenge to make and diagram 25 tatting motifs.  It's a butterfly from "The Priscilla Tatting Book #2".  It's called an applique motif, meant to be used on a net collar.


I tried to make things easier for myself by only diagramming the small one.  It still proved rather challenging.  The pattern uses these groups of half stitches that twist around.  It also has cut and ties.  I ended up with over 2 dozen thread ends.  I hid them by pulling them all to the back of the fabric.  It's a very floppy butterfly and the only reason it looks flat now is that it's rather ruthlessly tacked down.  The back of the butterflies looks urm... awful.  I won't show it.


Here are is the pattern, with diagrams.

Butterfly Applique from "The Priscilla Tatting Book #2"


Abbreviations and special stitches

LP - Long picot
VSP - Very small picot
      (I slip a paper clip on the thread to achieve VSP)

TS5 - Twisted Stitches
  - Make 5 first half of a ds, then work 5 second half of ds

TSP4 - Twisted Stitches with picots
  - Make 4 first half of a ds, leave space for a small picot, then work 4 second half of ds


Small butterfly

ANTENNAE

- Slip a paper clip onto the thread to create a VSP
- Chain of 35, pull tightly until the chain curls
- Cut thread
- Make 2 and tie together

BODY

- Ring of 14
- Leave space for a small picot
- 8 sets of TSP4 separated by LP
- 2 sets of TSP4 separated by regular picot
- 8 sets of TSP4, joining to LP between sets
- Join to vsp at base of first ring
- Cut and tie

UPPER WING (make 2)

First loop
- Slip paper clip on thread to create VSP
- Chain of 19 sets of TS5, separated by picots
- Rejoin to vsp at base of chain
- Cut and tie
Second loop
- Join to 7th to last picot on first loop
- 10 sets of TS5, separated by picots
- Rejoin to vsp at base of first loop
- Cut and tie
Third loop
- Join to 6th to last picot on first lower loop
- 8 sets of TS5, separated by picots
- Rejoin to vsp at base of first loop
- DO NOT CUT
Edging
- Continue with thread from third loop, leave small space to adjust wings later
- Scallop around wing by making chains of 2-2-2-2-2-2, joining to alternate outer picots
- Cut and tie


LOWER WING

Loop
- Slip paper clip on thread to create VSP
- Chain of 14 TS5, separated by picots
- Rejoin to vsp at start of chain
- DO NOT CUT
Edging
- Continue with thread from loop, leave small space to adjust wings later
- Scallop around wing by making chains of 2-2-2-2-2-2, joining to alternate outer picots

DECORATIVE DOTS (make 2)

R of 11 picots separated by 1 ds

ASSEMBLY


Large butterfly


ANTENNAE
- Slip a paper clip onto the thread to create a VSP
- Chain of 45, pull tightly until the chain curls
- Cut thread
- Make 2 and tie together


BODY
- Ring of 14
- Leave space for a small picot
- 10 sets of TSP4 separated by LP
- 2 sets of TSP4 separated by regular picot
- 10 sets of TSP4, joining to LP between sets
- Join to vsp at base of first ring
- Cut and tie

UPPER WING (make 2)
First loop
- Slip paper clip on thread to create VSP
- Chain of 30 sets of TS5, separated by picots
- Rejoin to vsp at base of chain
- Cut and tie
Second loop
- Join to 12th to last picot on first loop
- 13 sets of TS5, separated by picots
- Rejoin to vsp at base of first loop
- Cut and tie
Third loop
- Join to 11th to last picot on first lower loop
- 14 sets of TS5, separated by picots
- Rejoin to vsp at base of first loop
- DO NOT CUT
Edging
- Continue with thread from third loop, leave small space to adjust wings later
- Scallop around wing by making chains of 2-2-2-2-2-2, joining to alternate outer picots
- Cut and tie

LOWER WING
Loop
- Slip paper clip on thread to create VSP
- Chain of 20 TS5, separated by picots
- Rejoin to vsp at start of chain
- DO NOT CUT
Edging
- Continue with thread from loop, leave small space to adjust wings later
- Scallop around wing by making chains of 2-2-2-2-2-2, joining to alternate outer picots

DECORATIVE DOTS (make 4)
R of 11 picots separated by 1 ds

ASSEMBLY
Assemble in the same way as small butterly.

Wednesday, January 25, 2017

Butterflies big and small

I'm making progress on the vintage butterfly. I've even got the diagrams done. The thing is I really want to do both the small and the BIG butterfly.

Monday, January 9, 2017

Cut and tie

I'm working on a butterfly applique from a vintage Priscilla tatting book.  It's a pretty butterfly with some interesting techniques, but, since it's old pattern, there are many, many cut and ties.  I can't to any clever way to avoid them.  Urgh, as a modern tatter, those ends are really bothering me.

I suppose it's just the nature of the pattern.  Since I can't eliminate them, I'll aim to reduce instead.


Sunday, January 1, 2017

Tatting 25 motifs

January 1st is a good date to start things, so I've decided to start the 25 motif challenge.  I've actually done it before on my previous blog.  I'm going to start another round on this blog because I have different goals this time.

My kids are bigger now, and I do most of my making and crafting with them (which is why it's Our Crafty Empire).  One of the things we're working on is digital content creation.  They're learning to make videos and I want to get good vector graphics (I want to learn Adobe Illustrator).  Tatting diagrams are basically vector graphics.

I also quite like the look of vintage patterns.  Something about those classic doilies and collars just sets my heart a flutter.  However, I don't like working vintage patterns because of the tiny, squished up instructions and lack of diagrams.

So here's my plan for my 25 tatting motif challenge:

1) 25 tatting motifs
    - mostly vintage, hopefully a few of my own variations
2) 25 diagrams, one for each motif
    - most of them with typed out row by row instructions

By the end of the year, I should have a bunch of tatted motifs, a set of tatting diagrams, and some new skills (both tatting and Adobe Illustrator).

Hopefully I haven't bitten off more than I can chew.


Here's the first one.

Medallion No. 128 from Corticelli Lessons in Tatting


(Nope, I don't see that missing ring in round 3.  I don't see it... don't see it...)


First round
R: 10 (large picot) 10
C: 10

* R: 10 + 10 (join to large picot) 
C: 10
Repeat from * 4 more times
Tie off and hide ends

Second round
C: 4 - 4 - 4 - 4 - join to point of previous round
Repeat 5 more times
Tie off and hide ends

Third round
R: 3 - 2 - 3 + 3 - 2 - 3 (join to centre picot of chain of previous round)
C: 3 - 1 - 1 - 1 - 3
R: 3 - 2 - 2 - 2 + 2 - 3 (join to previous ring)
R: 3 + 2 - 5 + 5 - 2 - 3 (join to base of chain of previous round)
R: 3 + 2 - 2 - 2 - 2 - 3 (join to previous ring)
C: 3 - 1 - 1 - 1 - 3
R: 3 + 2 - 3 + 3 - 2 - 3 (join to previous ring, join to centre picot of chain of previous round)
Repeat 5 more times

Tie off and hide ends

Friday, December 16, 2016

Crochet?

The little lady is taking part in a dance concert and concerts mean lots and lots of waiting. So I'm making some toys for her and her fellow dancers. It's a good stach buster for my rainbow loom band.

I'm not sure if these count as crochet, even though I use a crochet hook to make them.

The dolls are from designs by Izzalicious designs.

Wednesday, December 7, 2016

Cactus boy

Some projects seem charmed.  All the pieces come together easily.  No mistakes.  From idea to finished item in a week or two.

This project has been the exact opposite.  I kept running out of material, and when I substituted, I ran out of the substitute.  I had to redo an arm three times, because it kept being bigger than the other one.  All my sewing came out wonky and I had to unpick stitches and do them over.  I lost sleep because I _JUST_WANTED_TO_FINISH dang it.


It's done now though.  Yeah!  It's huge.  (See the other toys in the photo). Take that Cactus Boy.  You're now a finished object.

Made by me from a pattern by Lydia Tresselt at LalyLala.

Saturday, November 12, 2016

Etsy booth

It's been quiet around here. I have trouble keeping up with too many social media, and I've been on facebook a bit more lately.

You can follow Our Crafty Empire on facebook if you like.

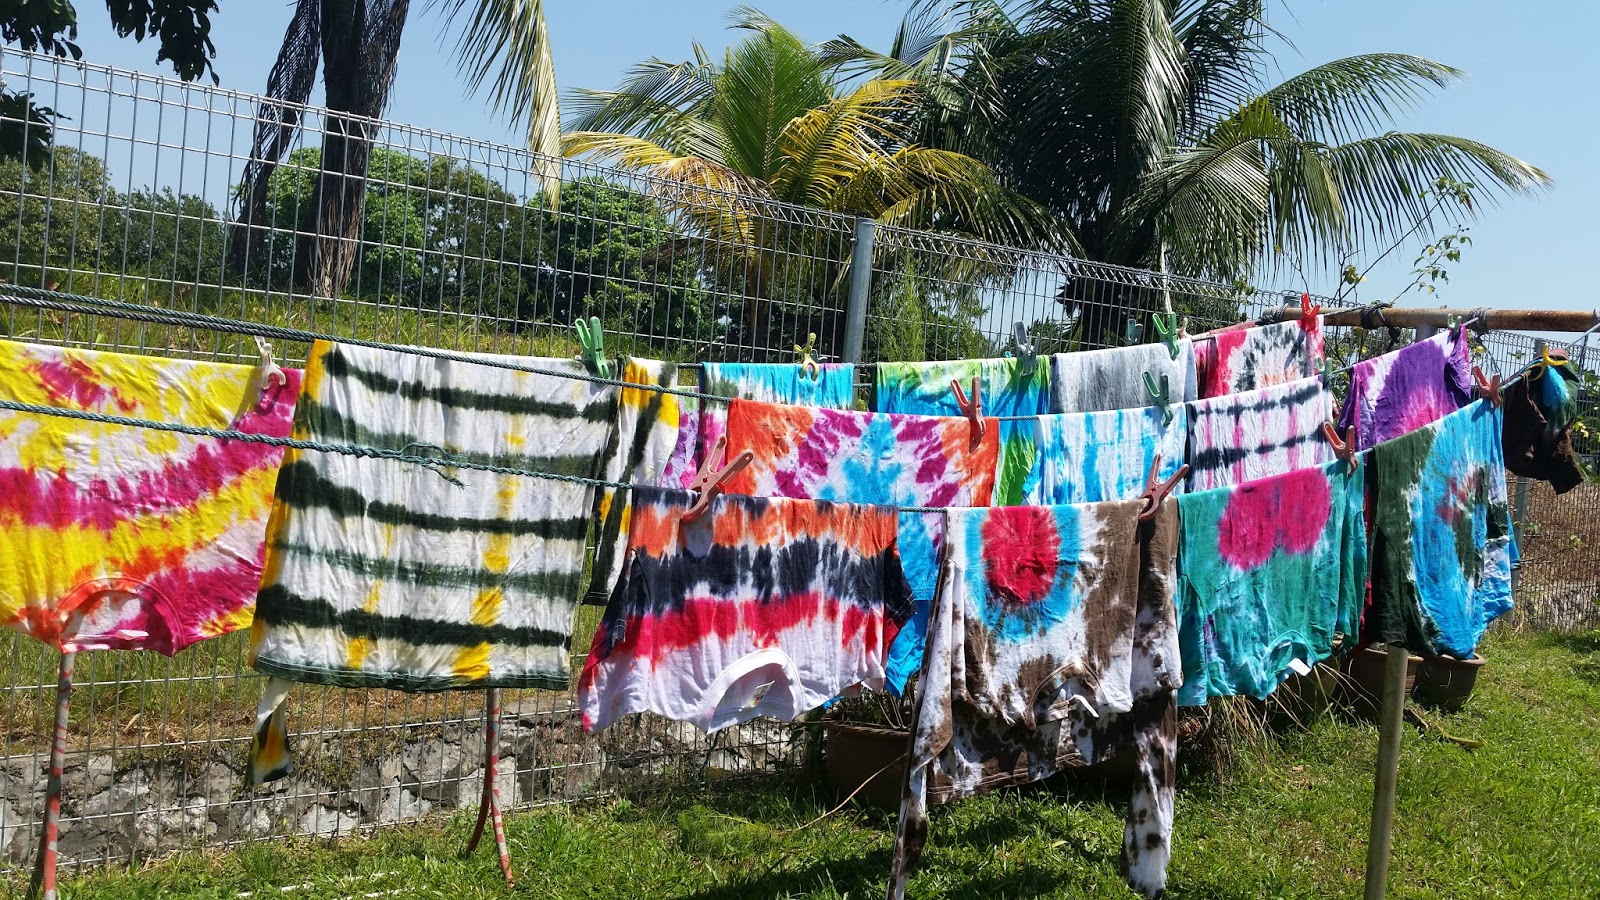
We'll be running a booth at Etsy Made Local Malaysia tomorrow (Nov 13th). We'll have tie dye t-shirts aplenty.

Thursday, February 25, 2016

The Craft Affair booth

My kids and I ran a booth at with a friend of ours at The Craft Affair this past weekend.  We had our usual bags.  We had crochet critters.  We also had lots and lots of tie dye t-shirts.  Lots of friends popped in to say hi.  All in all, a great weekend, though quite tiring.


Thursday, December 31, 2015

100 Etsy posts

A few months ago, I decided to do 100 Etsy listings, as a way to expand my crafty horizons, along with my kids.  I just finished three listings, bringing my total to 100, just in time for 2016.  Yea!

There are the usual bags, and lace and bracelets.  I also listed some temari balls, just to add something new to the shop.

2015 has been an interesting year for Our Crafty Empire.  We've learned a lot, and actually sold stuff (which was quite surprising to me!).  I'm not sure what 2016 will bring, but I'm looking forward to more learning and making ahead.


Tuesday, December 8, 2015

Etsy week 17 and 18

Sigh, I didn't make it to 100 last month.  I made it to 90 though.  Here are the latest 10.

First, the colourful ones; an orange zipper bag and a bright blue finger puppet.


Some hand drawn zippered bags and bubble bags.


Thursday, November 12, 2015

Etsy week 15 and 16

We were running a booth last weekend and as usual, that turned me into a semi-organized mess.  Thankfully, making stuff for running booths means I now have new stuff to list on Etsy.  I've got 80 listings at this point and I'm really hoping to wrap things up by end of month.  Here's the latest set of 10.

There is lace, in the form of collars and barefoot sandals.


There are little bags.


And a dragon and a braided bracelet to round things out.


Sunday, October 18, 2015

Feet

I had a strange urge to make barefoot sandals this weekend.  I go barefoot any chance I get, so I love the idea of these sandals, but I admit, I'm too lazy to actually wear them often.


I'm going to list them in the Etsy shop but first I've got to figure out how to display them.  I'm not sure how I feel about photographing feet.  Maybe the little lady could be my foot model.

Friday, October 16, 2015

Etsy week 13 and 14

I recently listed some items that I'm proud, even if I don't expect to sell them.  I like them because they are useful items and a lot of my own ideas went into them.  I used a bought pattern to get the sizing for the shirts, but the designs are my own.  For the bag, I made my own printing plate and used curry leaves from the garden.


I also listed some hair clips and accessories.


Sunday, October 11, 2015

Bits and pieces

Part of the reason Our Crafty Empire exists is that my supply cupboards need emptying so I can keep buying new supplies.  I love fabric!  I love yarn!  I love threads!

A lifetime of crafting does lead to bits and pieces of things I keep meaning to use up.  Here's what I'm trying to use now.  It's some friendship band type cords that I tied ages ago, and some old jean zippers.


I think they are meant to be little pouches.  Here are the first ones.


Thursday, September 24, 2015

Weekly Etsy 12

After running a booth two weeks ago, I've had to do some inventory to figure out what I have in stock.  I still want to reach my goal of 100 Etsy listings, but with some things sold out, I'm not sure how to do the counting.  I think I'll just say that each listing written and with photos counts as one.

Here is the latest batch of 5.  Included are two cute dolls that the little lady almost couldn't bear to part with.


Wednesday, September 16, 2015

Back from Art for Grabs

We're back from Art for Grabs and we had a great time.  It's a wonderful event, with wonderful organizers.  We met many, many lovely people and sold more than we expected.

I'm kicking myself for not taking any pictures of the booth.  Ah well, next time, I'll get the little lady to remind me.  Since I don't have booth pictures, I'll show bags, just for eye candy.  About half of these have gone to new owners.


Monday, September 7, 2015

Make more stuff...

The kiddos and I will be running a booth at Art for Grabs in a few days, and as usual when we run a booth, I'm trying to squeeze in more... more bags... more toys... just more...


Here's my table right now.  Those stacks are the result of experimenting with mono printing using a homemade gelli plate.  I'm hoping to turn them into square zippered bags.

Friday, September 4, 2015

Weekly Etsy 11

We're gearing up to run a booth at Art for Grabs in a week, but I'm trying to keep up with the Etsy listings.  I finally managed to finish up some bags my kids drew.  They're the ones on the left.

Saturday, August 29, 2015

Weekly Etsy 9 and 10

I've tried to double up on the listings over the past week to make up for slipping the week before.  I've now made it to 50, half way through my self assigned 100 listings.  Yea!